Index |
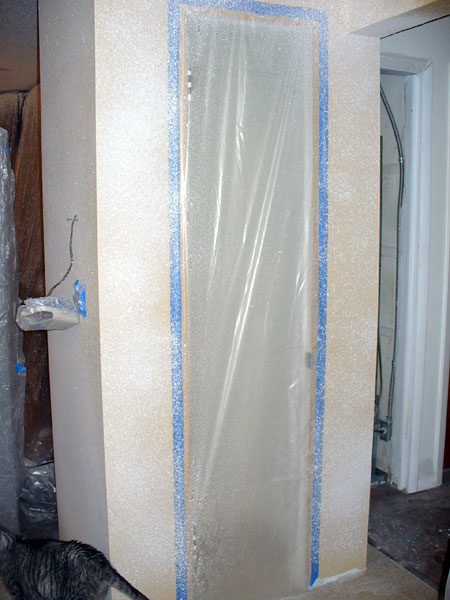
Homeowners Nancy and Paul share their kitchen remodel nightmare... We're ba-a-ack! Over at the bar area, after Paul cut the popular and routered the edges, I took over and stained it to match the other woods in the house. That required a couple coats of dark cherry gel stain and then several coats of a gloss finish. It's covered in plastic right now, but I'll take a photo of it soon. Once that was installed, we could finalize the living room side of that wall (tape and mud the drywall below the bar top). At this point, we're doing finish work. There's more to be done, but the kitchen itself is operational. |
Click thumbnails for a larger view. Kitchen Before Montage |
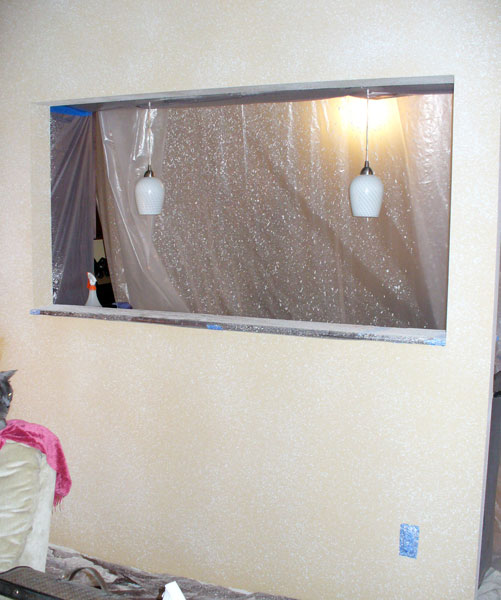
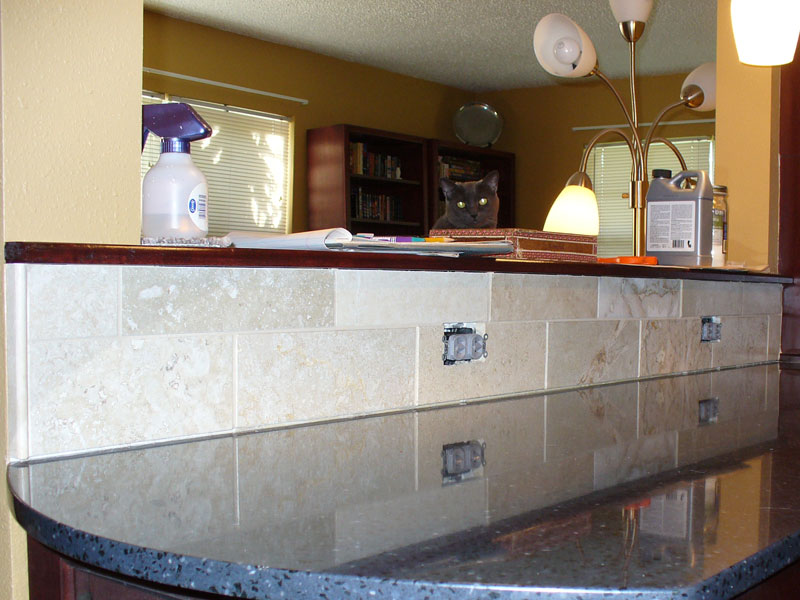
• Lastly, the bar window from the living room side. That's Skeeter on the chair. |
02/17/08: What a mess! Our air compressor came in handy again, but Paul did have to purchase another addition to the tool collection--a hopper/texture gun. The gun handles both the orange peel texture on the walls and the popcorn on the ceiling, but it did require buying two different types of texture product (the popcorn texture includes bits of styrofoam). No, we're not fans of popcorn ceilings, but since opening up the kitchen, that ceiling flows out to the ceiling that runs unstopped over a very large chunk of the house. Replacing all that other popcorn just wasn't in the budget right now. The simplier solution was to match the popcorn over the small area of the kitchen. It's amazing how far the texture travels when you're spraying! And when you're doing the ceiling... forget about it! What a mess! As you can see in the photos, quite a bit of the ceiling texture ended up on the plastic (the photos were taken the next morning, hence the fridge no longer fully covered). I'm sure glad we did all that prep work. That was Saturday. On Sunday, we took down most of the plastic and started painting. We'll finish it up after work this week. I'm looking forward to having all the plastic and painter's tape gone. Next up--dealing with the backsplash... |
2/17/08
|
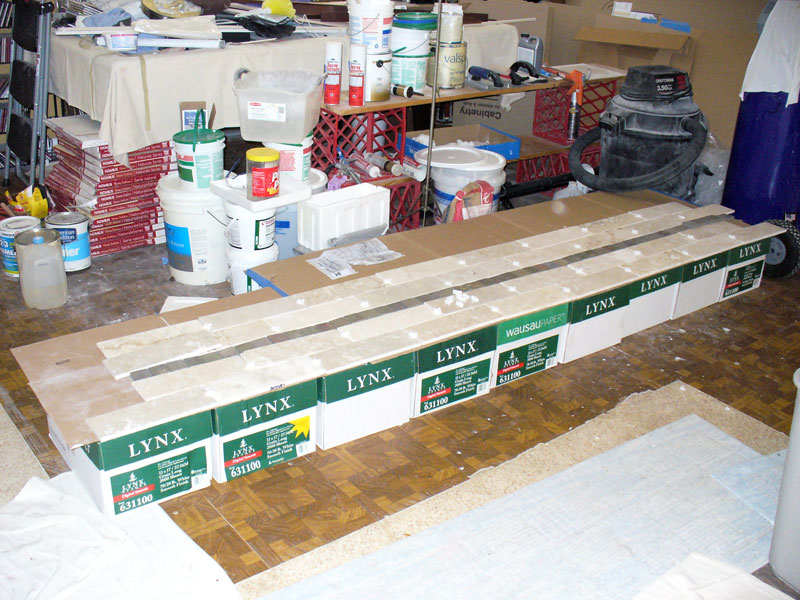
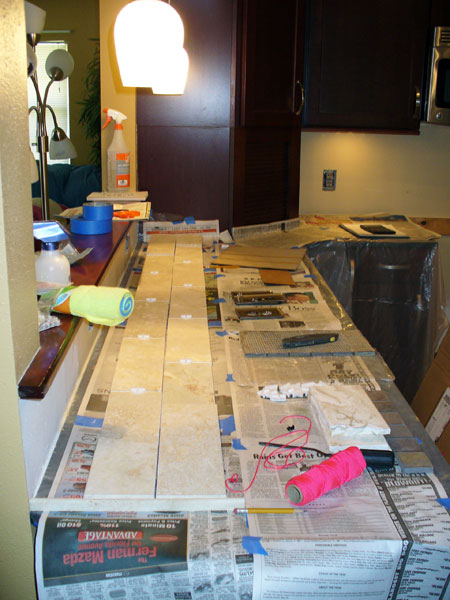
• Here's the long east wall tile laid out on the countertop. • Here's the bar wall tiles. Can you believe only one of these tiles won't need to be cut?! • Here's a close-up of one of the two tiles that cracked when it was set. |
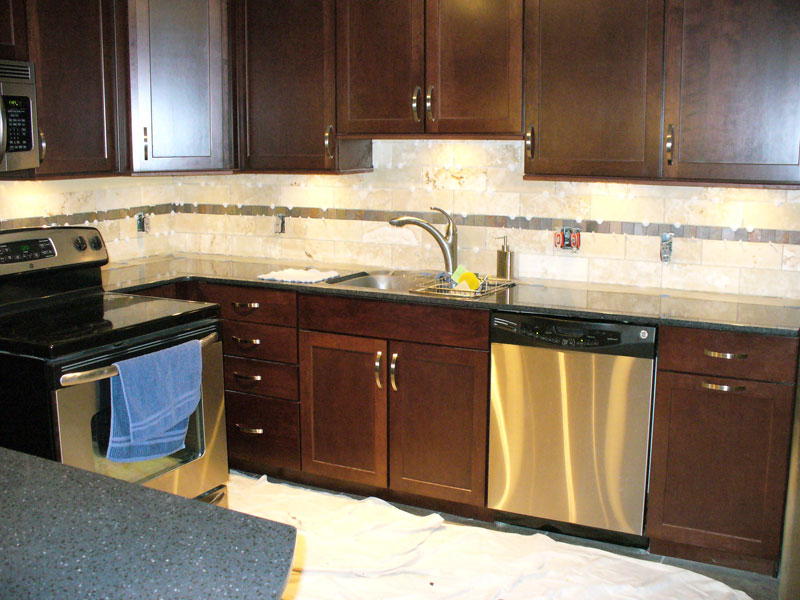
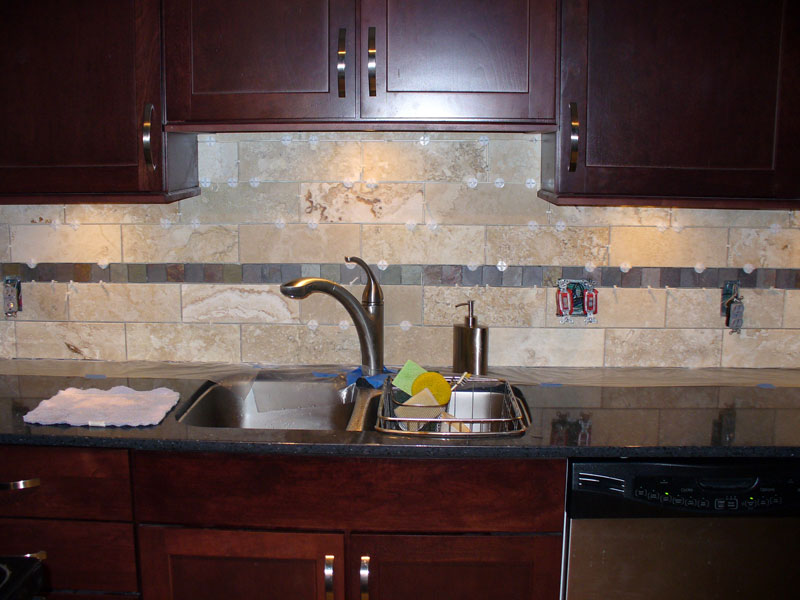
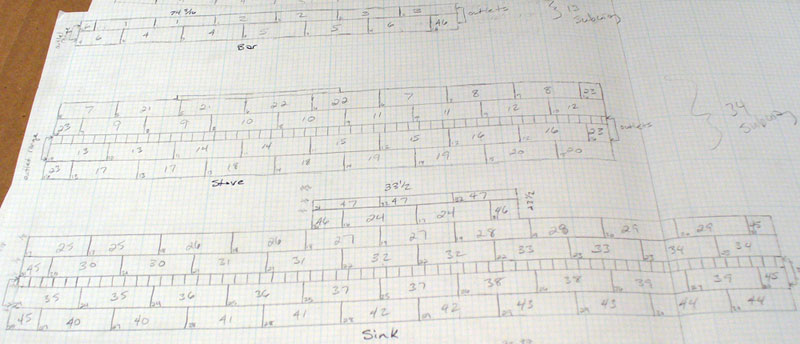
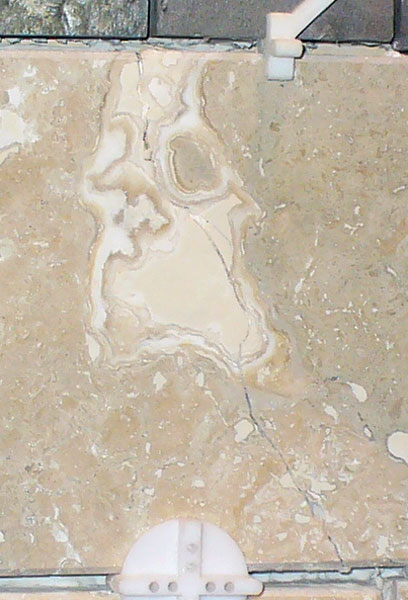
03/29/08: Tiling begins Saturday morning I did rough layouts of all three walls. There's a lot of variation on the tile, so I wanted to maintain the variety. I also had to consider where I wanted to put the best looking pieces. This shot shows my favorite piece. It's front and center over the sink. After lunch, the actual tiling began. I did the cutting while Paul did the setting. There were tons of cuts, but when I wasn't doing that, I was helping Paul. I got pretty confident doing the cutting, freehanding (versus using the fence on the wet saw) some of them as needed. I ended up only losing one travertine piece in the cutting for outlets. (The slate was even more problematic, wanting to separate into layers.) We had two tiles crack as they were placed on the wall. We'll just fill the cracks with grout. Setting the tile took much longer than we expected. By dinner time, we weren't even finished with the first (albeit longest) wall. |
3/29/08
|
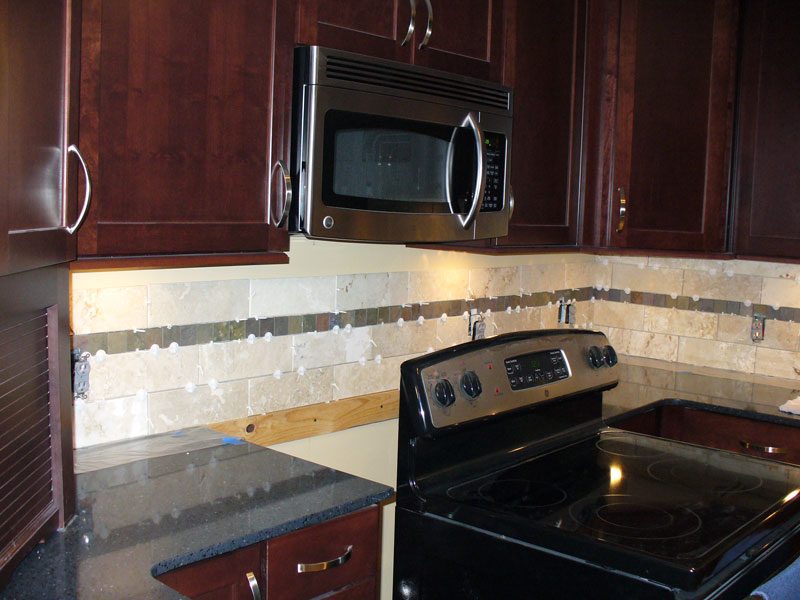
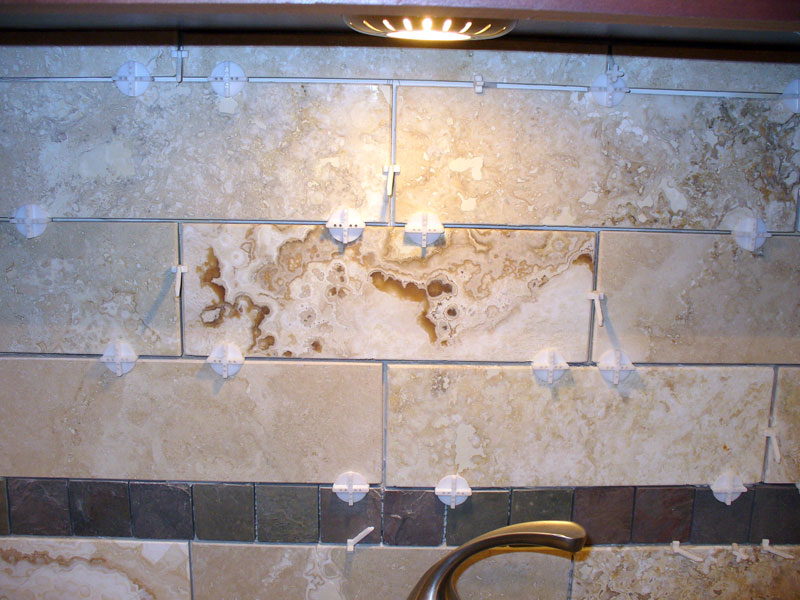
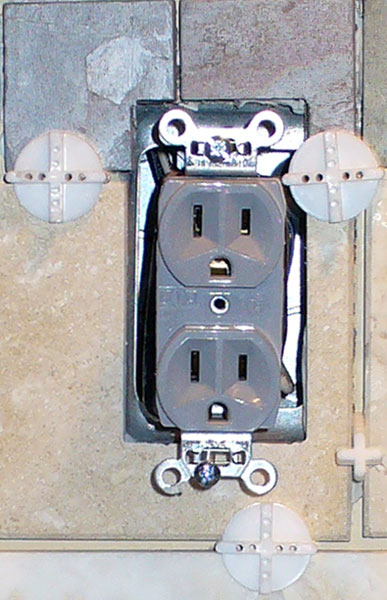
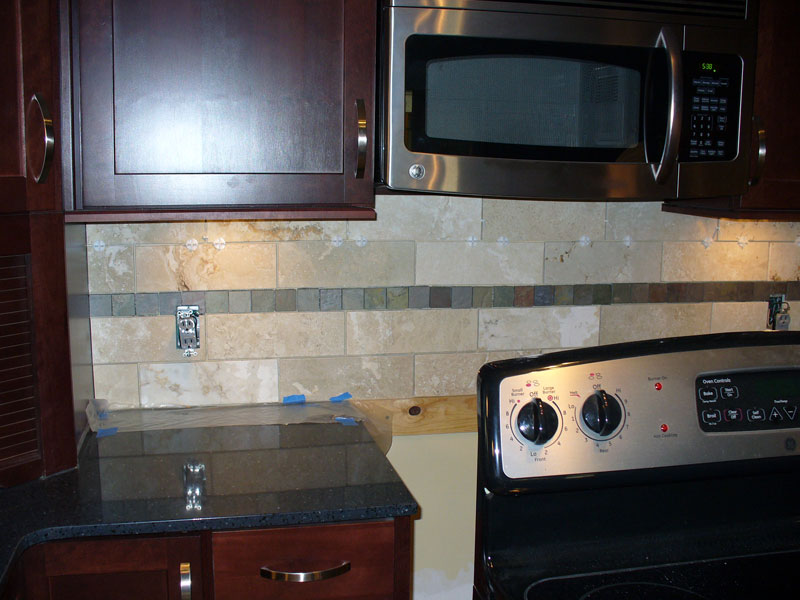
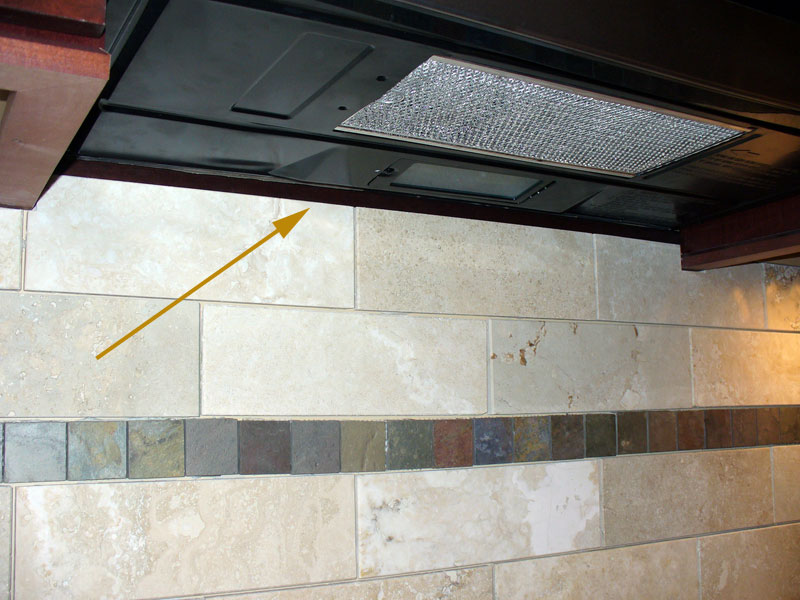
03/30/08: And more tiling This was a day of tricky cuts. I wanted the tile to go all the way up to the cabinets, but the molding to hide the undercabinet lights created some problems. I had to notch a tile to go around it over the sink. Over on the range wall, because of an outlet, I had to cut a piece of travertine with only a half-inch on one side of the notch. I was so-o-o-o careful cutting that one! I also looked for one of the more dense pieces. Travertine has all kinds of voids in it, which makes some pieces more prone to breaking. And Paul figured out a good trick on cutting the slate. He noticed some of the pieces were more stratified than others, so we avoided those when I had to cut around an outlet. He also came up with the best solution for marking the cuts on those. Needless to say pencil doesn't show up well on slate. Paul's suggestion of using blue painter's tape to mark the cut lines did the trick. I think that also helped stabilize the little pieces when cutting. I wanted to push through and at least finish the north wall before we called it a night, but Paul knew that would take too long. After bringing the wet saw back inside, we took a short-but-late dinner break (thank heaven for Little Caesar's!) and started cleaning up. It was still quite a late night. There's just not enough time after work, so the rest will have to wait until next weekend. We'll finish setting the tile Saturday, then I can start applying at two to four coats of sealant during the week. The following weekend we can finally do the grouting. |
3/30/08
|
|
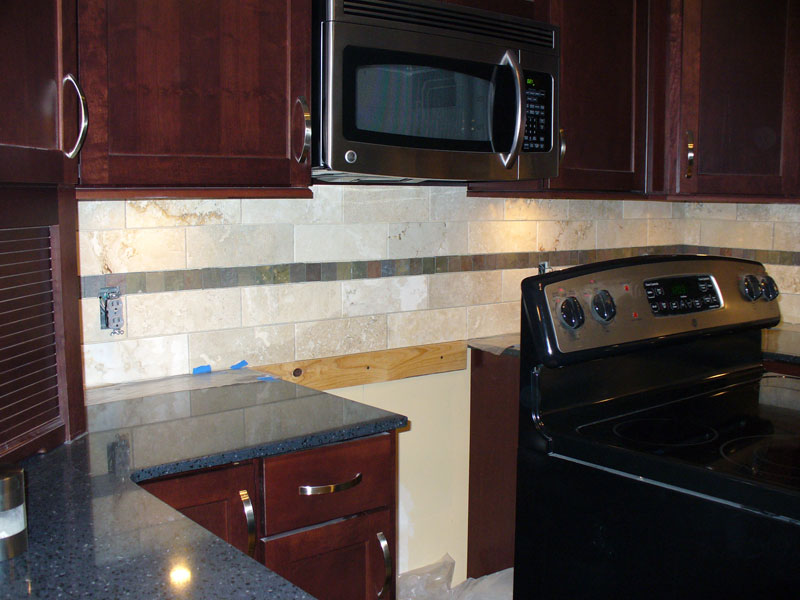
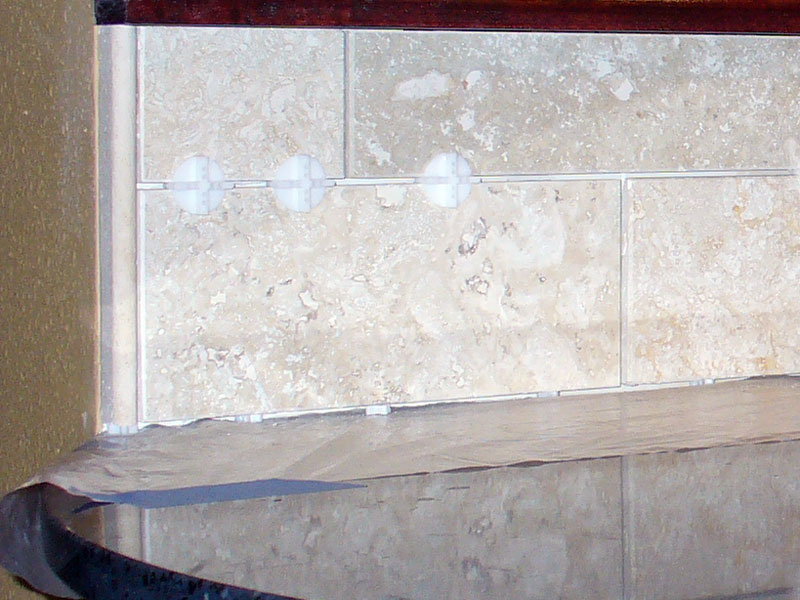
Photos: • And this is the rest of that northern wall. • Finally, the bar section. That clump of white is a pile of pulled-out spacers. • This close up shows the pencil rail that provided a nice finish to this exposed end. • Using leftover cherry trim to fill the void between the tiles and the microwave worked out great. |
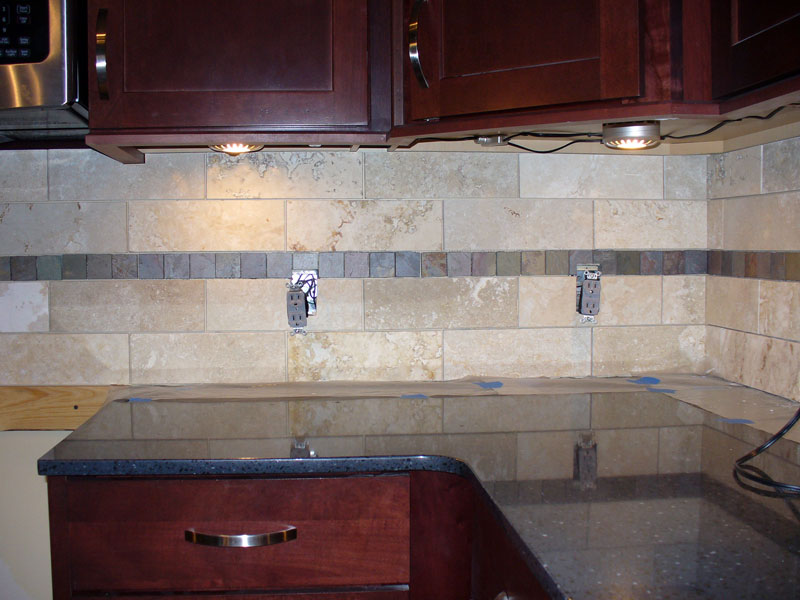
04/06/08: Tiling complete We lucked out when we got to the bar area. While the upper row of tiles had to be cut for height (that section is only 7" inches tall and the tiles are 4"), I didn't have to notch them for the outlets. Just the bottom row needed that done. We finished what would have been the exposed edge with a piece of travertine pencil rail. Neither Paul nor I wanted to see the mastic showing under the last tiles. Paul used Liquid Nails to adhere the rail, too. Where the backsplash ends by the fridge didn't get the same treatment since it can't be seen from the side. Next weekend we grout! |
4/06/08
|
Photos: • A full view of the northern (stove) wall.
|
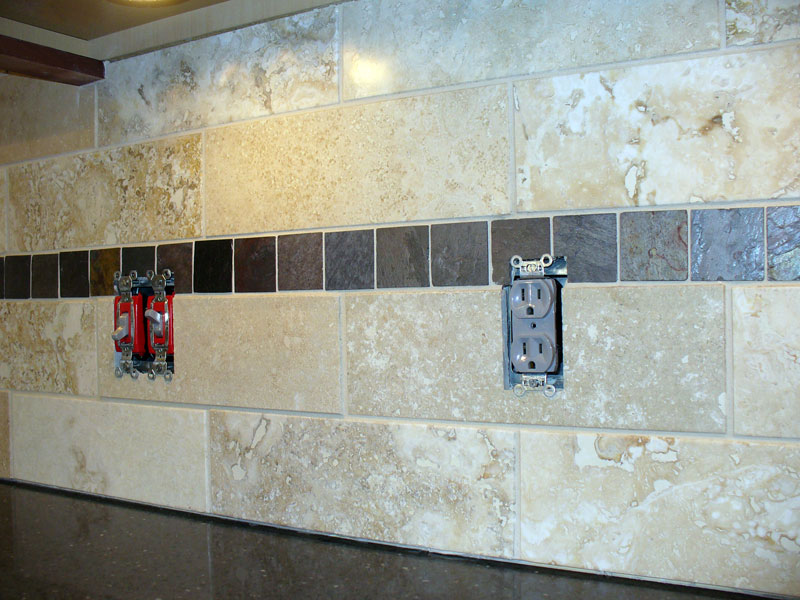
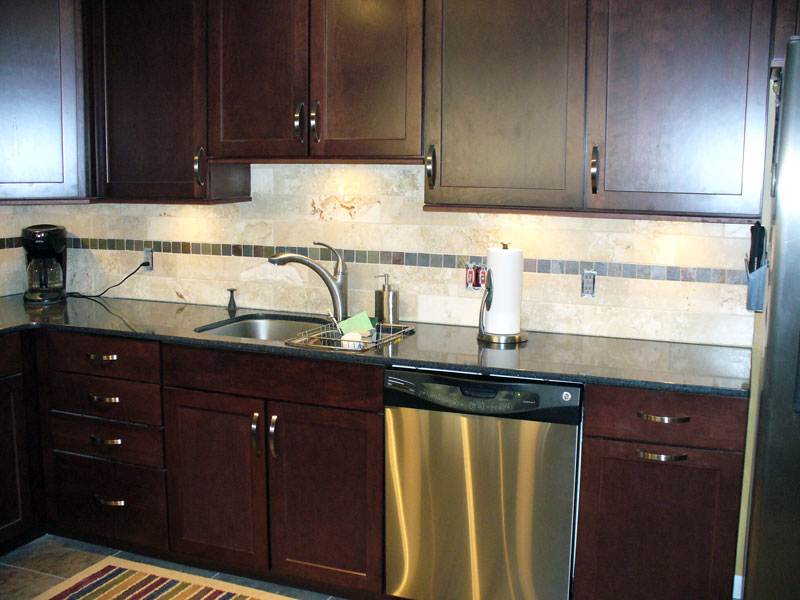
04/12/08: Grout this! We'd bought grout bags, thinking that would make it easier to get the grout fully into the 1/8" grout lines, but after just a few tiles, the grout bag decided it was done. Despite Paul's strength, it just didn't want to come out. He tried clearing it several times, but it simply wouldn't work. I fell back on the tried-and-true method of grouting, but it was very messy. I think the mixture was still a bit too thin. I started just using my hands (no gloves -- duh!) to work it in, and Paul came behind me with the float, then cleaning the tile with a wet sponge. After a while, he took over, mastering just using the float, while I took over sponge duties. Then before we were done, I went back through looking for voids or areas needing to be built up more. In the end, it turned out nice. The tile guys made a good color recommendation. Now I need to wait a couple of weeks before I can put in a final coat of sealant (including the grout this time). We still need to caulk the joint with the countertop, too. |
4/12/08
|
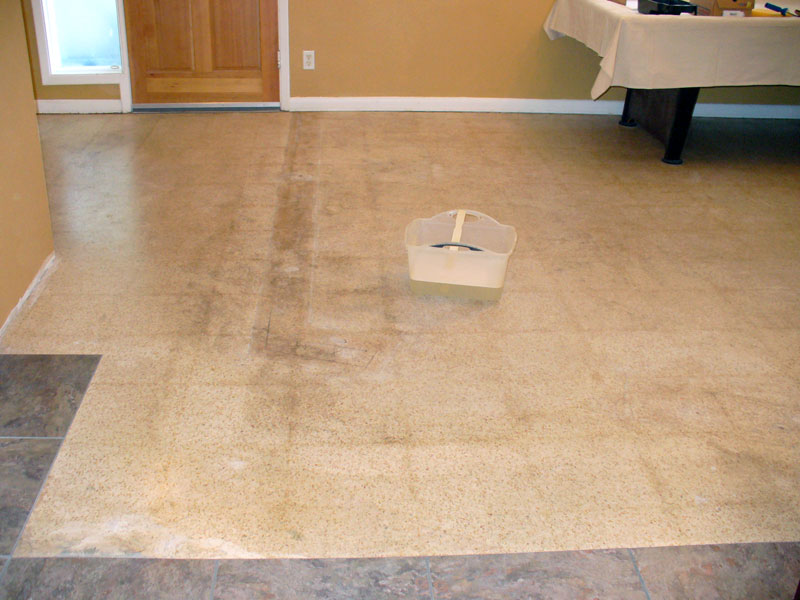
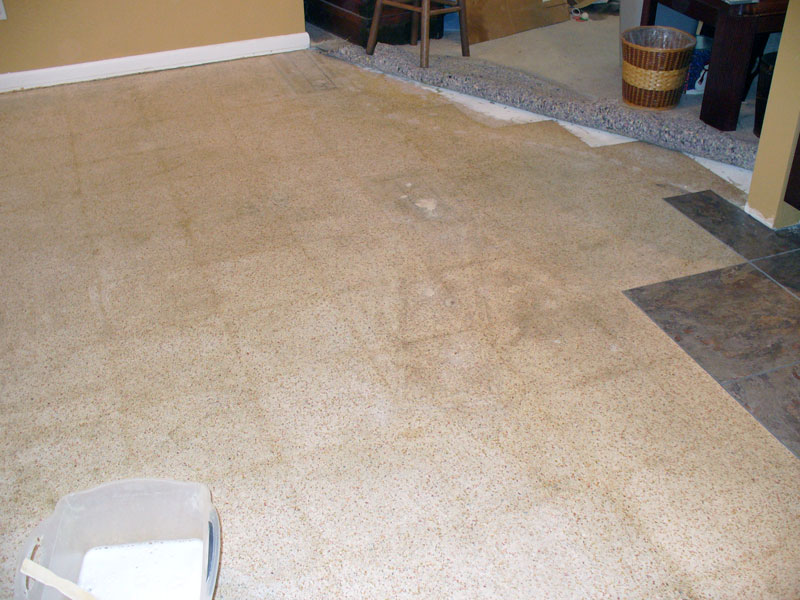
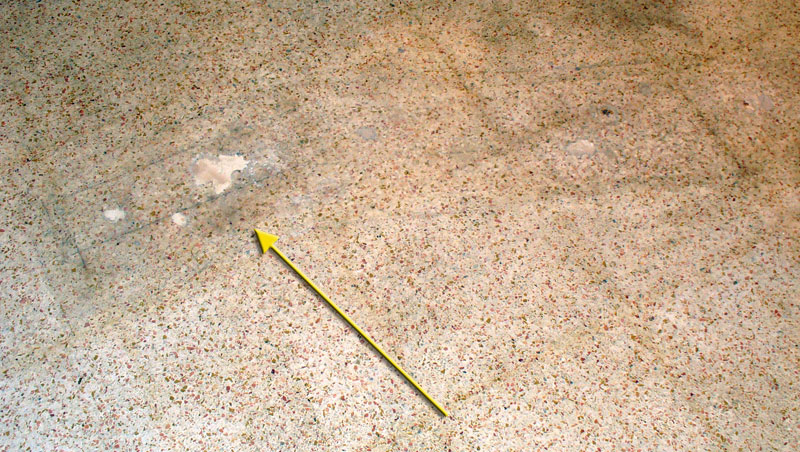
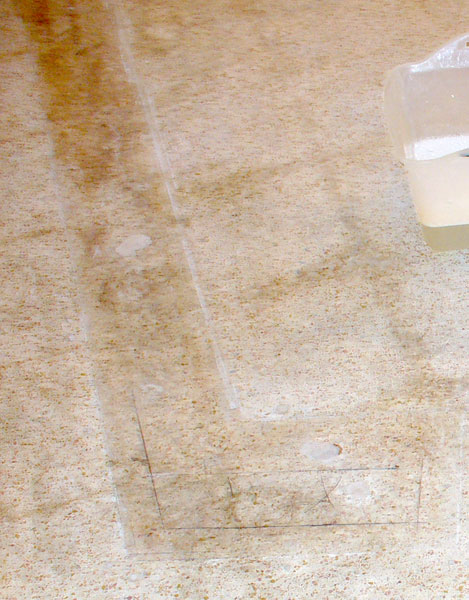
• Here's a closeup of some of the damage we had to repair. • This is the first wall markings we uncovered. That angle matched the angle of the former kitchen wall we removed. Apparently there was a narrow walkway between the two rooms. |
05/02/09: On to the dining room The process begins, though, with handling this floor. It took several weekends to get up all that nasty fake parquet vinyl tiles. Some came up easily, but most put up a fight. The scrapers we were using were getting destroyed, so we made another trip to Lowe's. We found a more expensive scraper that had a much better design. That helped a lot. And we went through lots of Goof Off to clean up the leftover adhesive. Once all those tiles were gone, we discovered new things about this house. Apparently the dining room used to be enclosed. We could see markings on the floor indicating where walls once stood, with two different openings. Of course, that also meant lots of spalled concrete where the footer had been attached. Good thing we didn't intend on just polishing the terrazo -- it's in terrible shape! |
5/02/09
|
| Home > | ||


